Every couple of weeks, I scan my Pinterest boards for projects or recipes that I want to attempt. Honestly, this has led to a number of Pinterest fails, but also to a lot of really cool gifts, projects and yummy new dished. In my second spring cleaning post I showed ya’ll a jewelry stand that I made to clean up my bathroom counter. In this blog post I’ll walk you through this project – in what I’m calling a Pinterest 101. I find that when I start with some fail-proof projects, I have confidence to try those larger, somewhat overwhelming projects. When all else fails, sip a little wine (or the drink of your choice) as you work and the final outcome will always look a little better.
Pinterest 101: Tiered Stand
While I’m using my stand to hold odds and ends and jewelry in my bathroom. This DIY project can be used in a number of different ways. Hello cupcake stand or cake stand. Perhaps it’s a place to hold make-up or nail polish or miscellaneous things on your desk. Make it work for you!
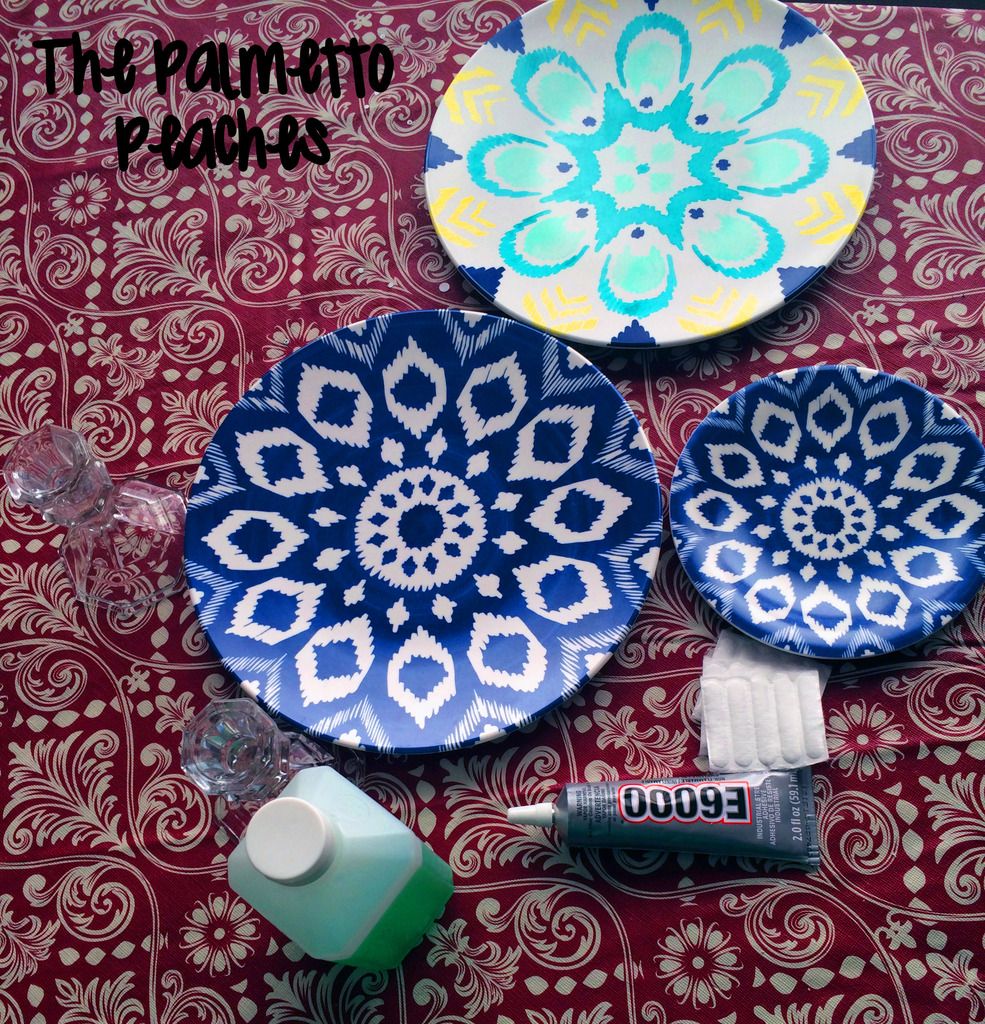
Materials
3 plates (One should be smaller than the other or you could use a bowl)
Two candlesticks
E6000 Craft Glue

I bought these melamine plates at Target for $1.29. The small appetizer plate was only .99. Feel free to hit thrift store for vintage plates as well. The candlesticks were from the Dollar Tree. You could use gold or silver spray to add something special to your candle sticks. This project would also be fun with terracotta pots and holders. Again, customize your materials list to make it your own.
- With a damp cloth clean wipe down the plates and candle sticks and let them dry completely. If you plan on painting your candlesticks I would do that first, letting them dry completely before moving forward. My candlesticks were a little dusty so I grabbed some rubbing alcohol and cotton squares to give them a good cleaning.

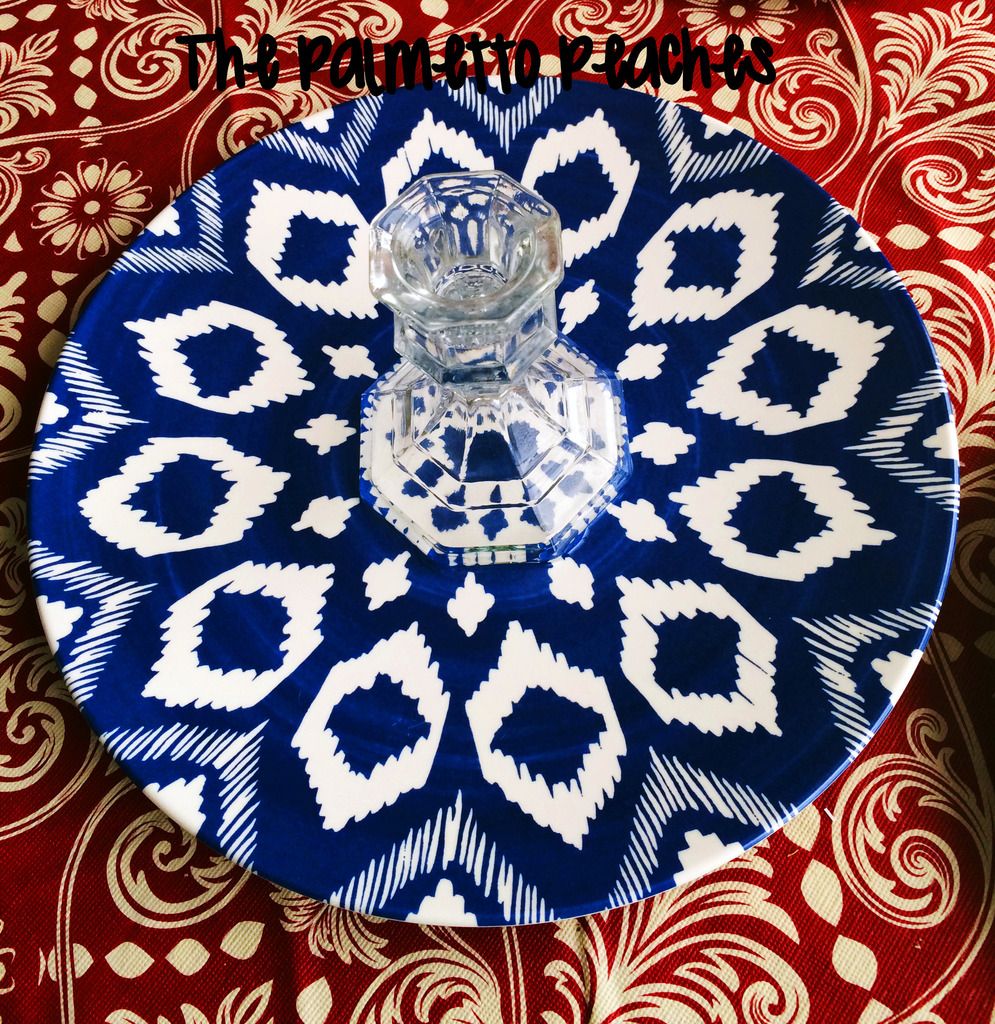
- With the design of the plates I purchased, it was easy to find the center, but you may need to measure your plate to accurately find the center. I applied the E6000 glue liberally on the bottom edge of the candlestick and set it on the plate. You still have some time to move it if it isn’t quite centered, but then firmly press down.

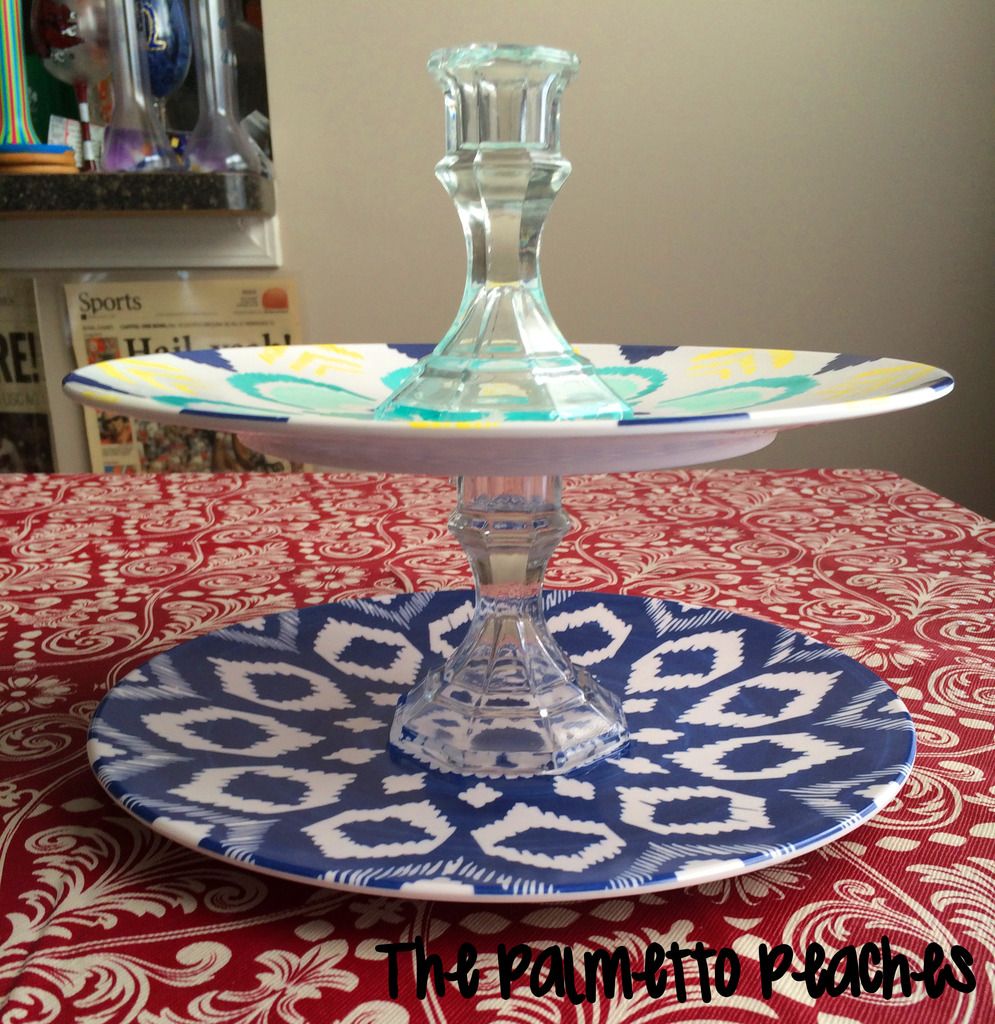
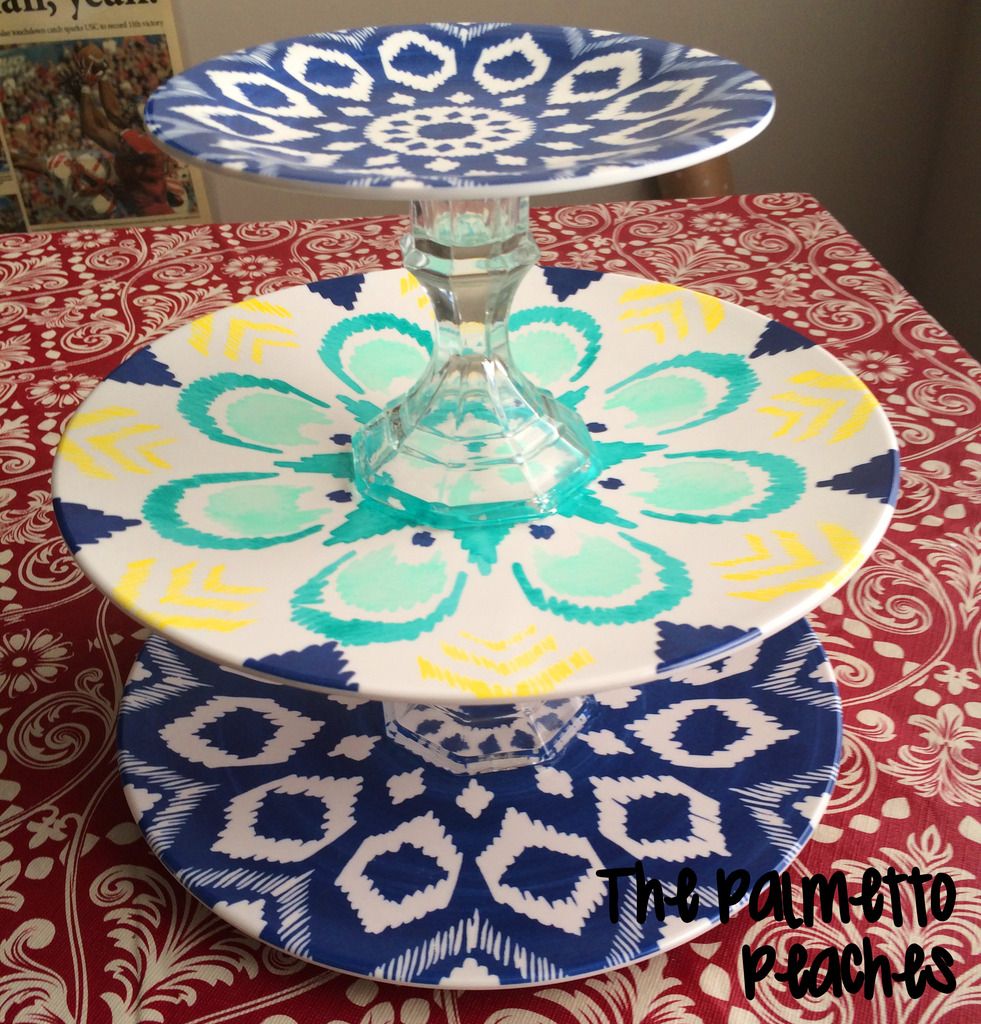
- Next apply glue to the bottom of the second plate and the top of the first candlestick to add the next tier. The trick with the E6000 is to apply the glue to both surfaces and wait a couple of minutes before sticking together. Two tiers may be enough for you, I but I wanted a third, so I repeated the process and applied glue to the top of the second candlestick and the bottom of the third plate.

Voila! That’s all she wrote folks. You now have a tiered stand. Leave to dry overnight before you begin adding your items. Also I would lift the stand from the bottom. While the glue should keep it together, it never hurts to go easy on your new stand.


This project looks so easy and I love the patterns on the plates! Very cute!
Thanks, Kortney. Target has the cutest stuff. -Donni
I’ve seen this on pinterest, I really like these plates! so cute
Super cute idea (and I love your table cloth!).
Thanks! The table cloth was another Target find! -Donni
I love the idea of the cake plate being used for all of my nail polish!!! But, did you know that they will last longer if you put them in the fridge!?
I had no idea. Thanks for the tip. -Donni
Love this!! I’ve also seen cute magnetic pin cushions made from heavy duty magnets glued to the bottom of pretty saucers and such. So many ideas to use all the pretties at the thrift store.
Ooh I love that idea. Thanks for reading!
I love your idea, and as you mentioned, there are so many ways to customize it 🙂
Lisa Ehrman recently posted…IntelliGlass Protective Screen Cover Giveaway
It’s definitely a project that can be individualized. Thanks for reading!
This looks so cool!!! I want to go try it now!
🙂 If you do send us a picture!
This looks so easy to do, which is what I need.
It’s super easy! Let me know if you make it.
This is so awesome I would have never thought of it and am definitely going to make one thanks!!
Thanks! Feel free to share your final product with us!
I love this idea. This is so pretty thanks for sharing….
Thanks for reading!
Wonderful creation! I’d love to make one for my cupcakes!
I am really loving this post. I will make this for an upcoming party.
Great – thanks for reading! I’d love to see how you customize it.
Wow, those are very beautiful plates. Very nice.
wow nice!!
open an etsy store! You need one! xoxoxo
courtney b recently posted…Currently Loving… Lumene Vitamin C Beauty Drops
Aww thanks! Maybe one day. -Donni
Great job! How stinkin cute! I have honestly never attempted a Pinterest project. I know I would be so mad if I failed it, lol. Some of these posts make it look so easy!~
These plates are so cute! Thanks for the idea!
No problem!! Thanks for reading!